My Gardening Journey: From Seeds to Blossoms 🌱🌸
My first hands-on experience of growing life, one seed at a time.
LIFE LOGS
10/17/20235 min read
Gardening has always been a peaceful escape for me - a quiet retreat in the chaos of everyday life. I love visiting plant nurseries and local markets to buy new flowering pots, decorative plants, and quirky planters. It gives me a sense of joy and satisfaction to see vibrant flowers blooming on my balcony or in the small green corner of my home.
During the COVID lockdown, I finally got the time to slow down and try something I had always wanted to do - grow plants from scratch. I was in my hometown, Ujjain, surrounded by peace, time, and space. It felt like the perfect setting to connect with nature on a deeper level. That’s when I decided to experience the entire journey of a plant - not just admire the final product, but truly be a part of its story, right from the seed.
Gearing Up: The Basics of Growing Plants from Seeds
Since I was already aware of the essentials required for germinating and growing plants, I began by collecting all the necessary items:
Seeds (Marigold, Basil, Tomato, and Sunflower were my first picks)
Cocopeat - a lightweight growing medium made from coconut husk, great for retaining moisture
Vermicompost – a nutrient-rich organic compost that boosts soil health
Seeding Tray – for controlled germination
Water spray bottle
Gloves, spade, and labels – for handling and organizing the setup
Each item had a role to play in ensuring that my little green project would thrive.
Step 1: Preparing the Perfect Mitti Mix (Soil Mix)
Good soil is the foundation of healthy plants. Since I wasn’t using traditional garden soil, I created a mix that was light, well-aerated, and nutrient-rich.
Here’s how I made it:
1 part cocopeat – retains water without becoming soggy
1 part vermicompost – supplies essential nutrients for healthy growth
I mixed them thoroughly in a bucket, ensuring the mixture felt soft and slightly damp but not wet. This mixture is ideal for seeds as it's gentle, non-toxic, and free from pests or weeds.
Step 2: Filling the Seeding Tray - Why It Matters
Once the mitti mix was ready, I filled each cell of the seeding tray with the prepared medium. Now, some might wonder: Why use a seeding tray instead of planting directly into the main pot?
Here's why seeding trays are important:
Controlled Environment: They provide a consistent and safe space for delicate seeds to germinate.
Better Root Development: Seeds get individual space to grow roots without competition.
Transplant Friendly: Once the saplings are strong enough, they can be moved to bigger pots with minimal disturbance.
After filling each cell, I lightly pressed the soil to level it and made small depressions (about 0.5 cm deep) for placing the seeds.
Step 3: Planting the Seeds
I gently placed one or two seeds in each cell. Overcrowding can hinder growth, so it’s better to start slow and leave enough space. After placing the seeds, I covered them with a thin layer of the same mitti mix and lightly tapped them in.
Step 4: Watering – How Much is Just Right?
For watering, I used a spray bottle instead of pouring water directly. This prevents the soil from becoming too wet or the seeds from getting displaced. Here's a general guide I followed:
Spray twice a day – once in the morning and once in the evening.
Keep soil moist, not soaked – overwatering can lead to fungal infections or seed rot.
Pro Tip: If the top layer feels dry, give it a few spritzes. If it feels moist, skip watering for that session.
Step 5: Sunlight & Placement
Seeds need warmth and indirect light to germinate. I placed the tray in a bright corner of my balcony that received 4–5 hours of indirect sunlight daily.
Direct sunlight at this stage can be too harsh and dry out the soil quickly.
The Germination Timeline – The Magic Begins
Patience is key in gardening. Watching nothing happen for days can be disheartening, but trust the process!
Here’s how the timeline looked for most of my seeds:
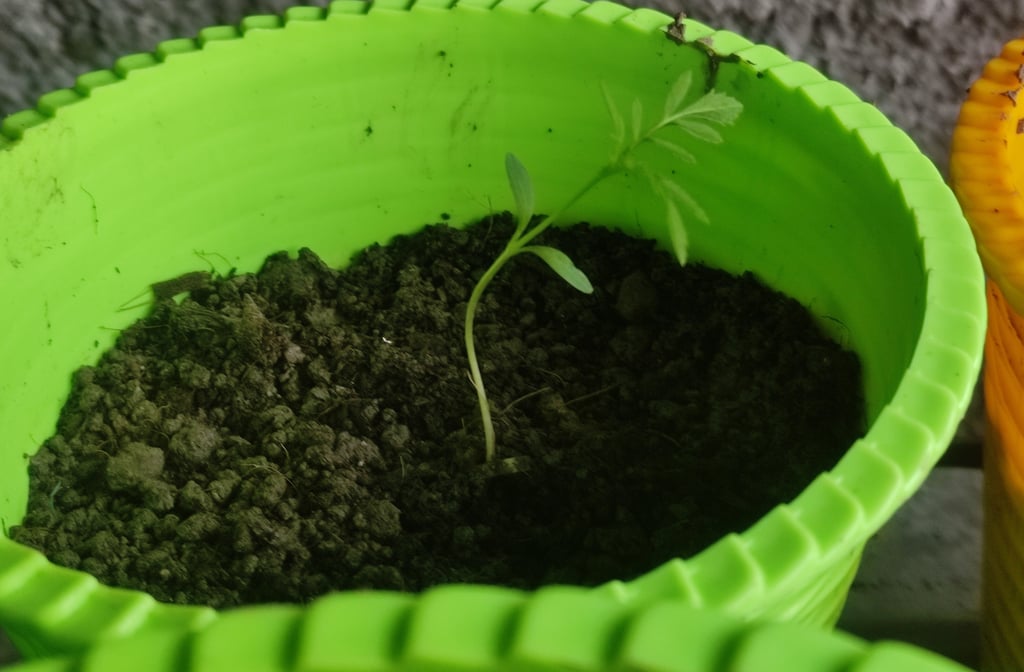
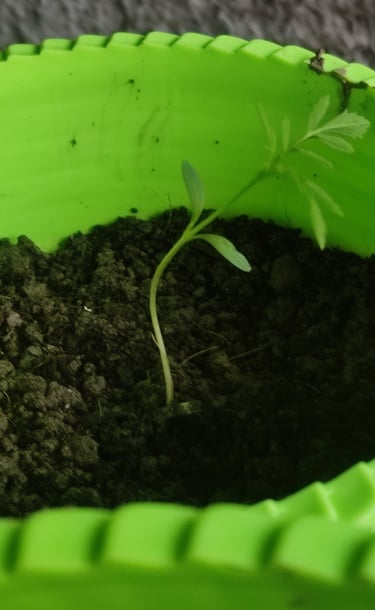
Day 5–7: Tiny shoots started appearing (especially basil and marigold)
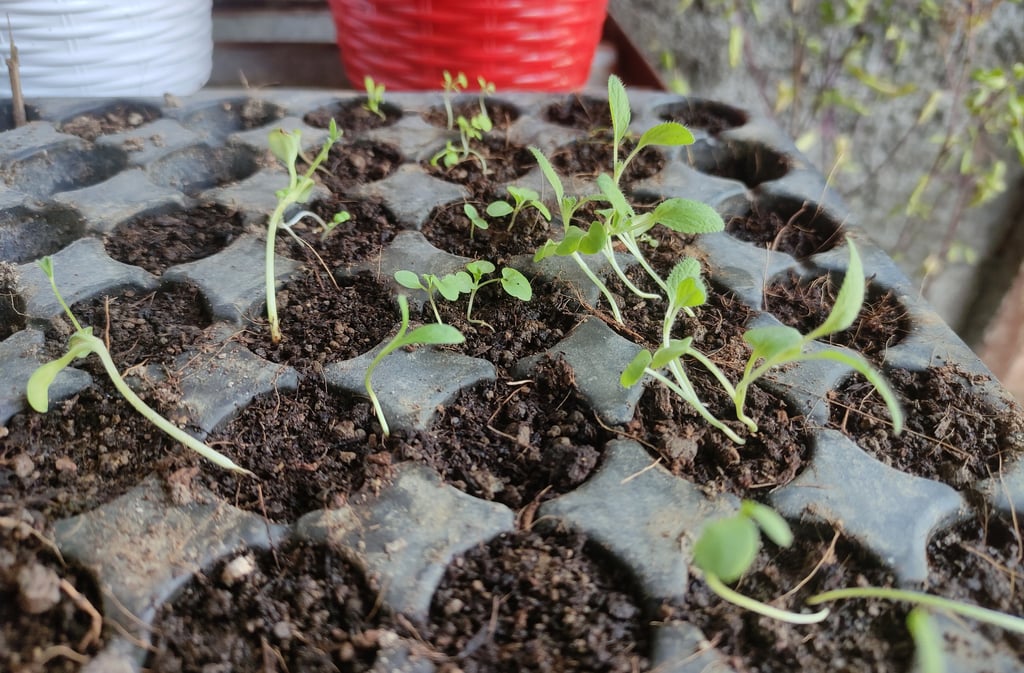
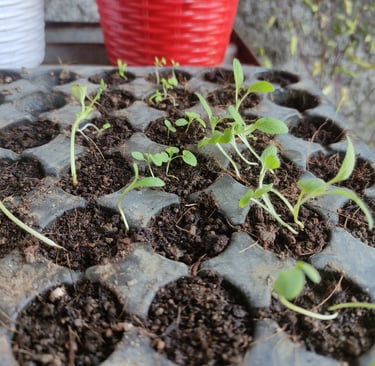
Day 10: Most seeds had sprouted and small green leaves (cotyledons) emerged
Day 14–20: True leaves appeared, and saplings became sturdier
Day 25–30: Seedlings were about 3–4 inches tall and ready for the next phase
It felt like magic—every morning I would rush to my tray and see something new. It was like raising plant babies!
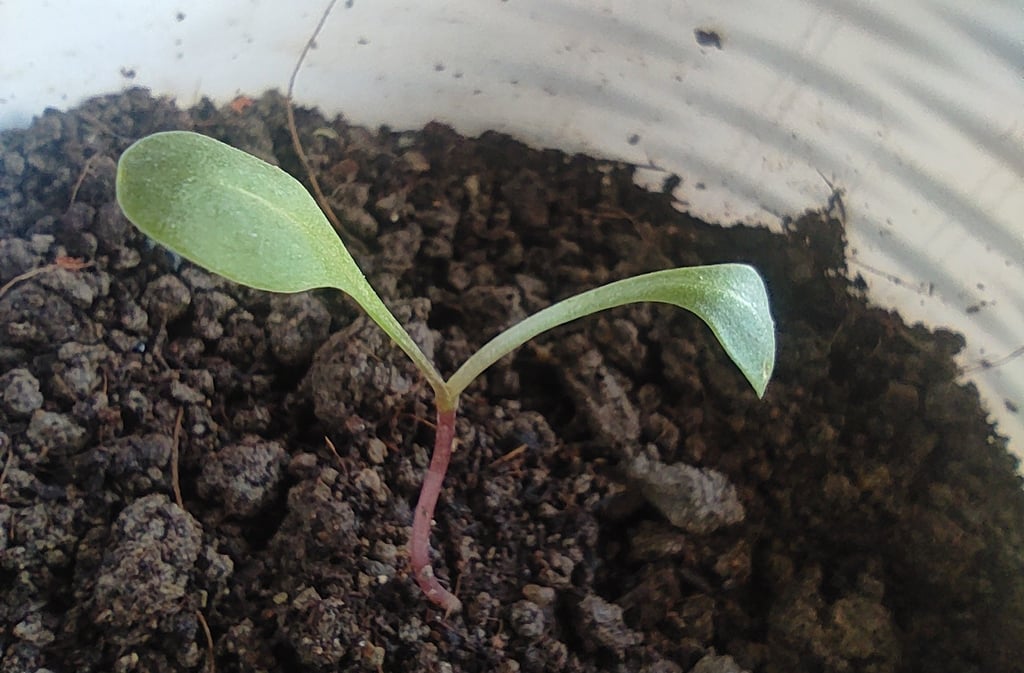
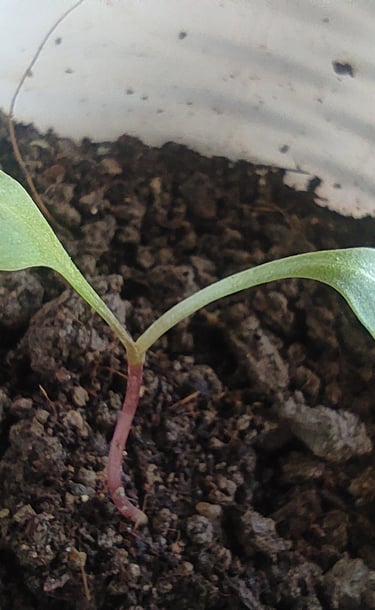
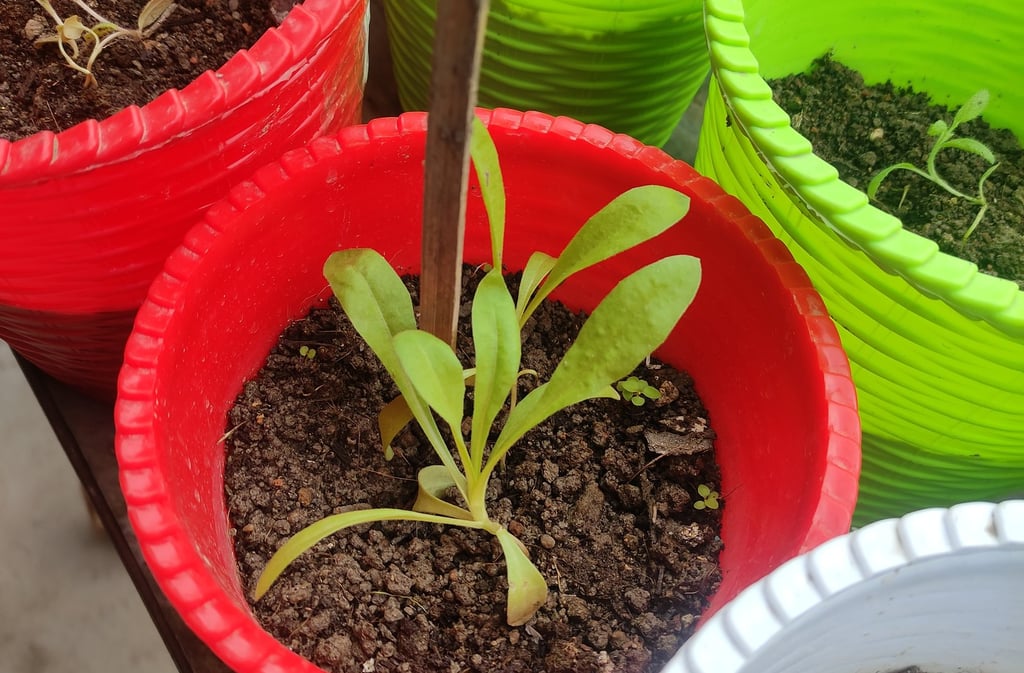
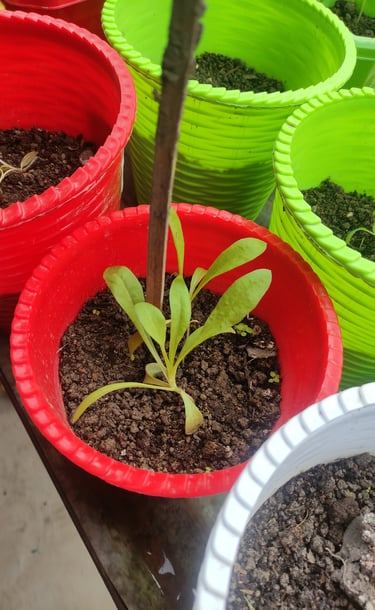
Step 6: Transplanting to the Main Pot
Once the seedlings developed 2–3 sets of true leaves, I knew it was time to transplant them into their permanent homes—bigger pots or the garden bed.
Here's how I did it:
Prepared potting mix with garden soil, vermicompost, and a bit of sand for drainage.
Gently removed each seedling with its root ball intact.
Dug a small hole in the pot, placed the sapling in, and covered it with soil.
Watered lightly and placed it in semi-shade for 2 days before moving to full sun.
Ongoing Care: What Happens Next?
Once in the main pot, the plants need:
Daily morning sunlight – 4 to 6 hours is ideal for most flowering and fruiting plants.
Watering – once a day, preferably in the morning
Fertilizer – a mild dose of vermicompost or liquid compost every 2–3 weeks
Pruning and cleaning – removing dried leaves or weak stems helps in healthy growth
Final Thoughts: The Joy of Growing Something From Scratch 🌿
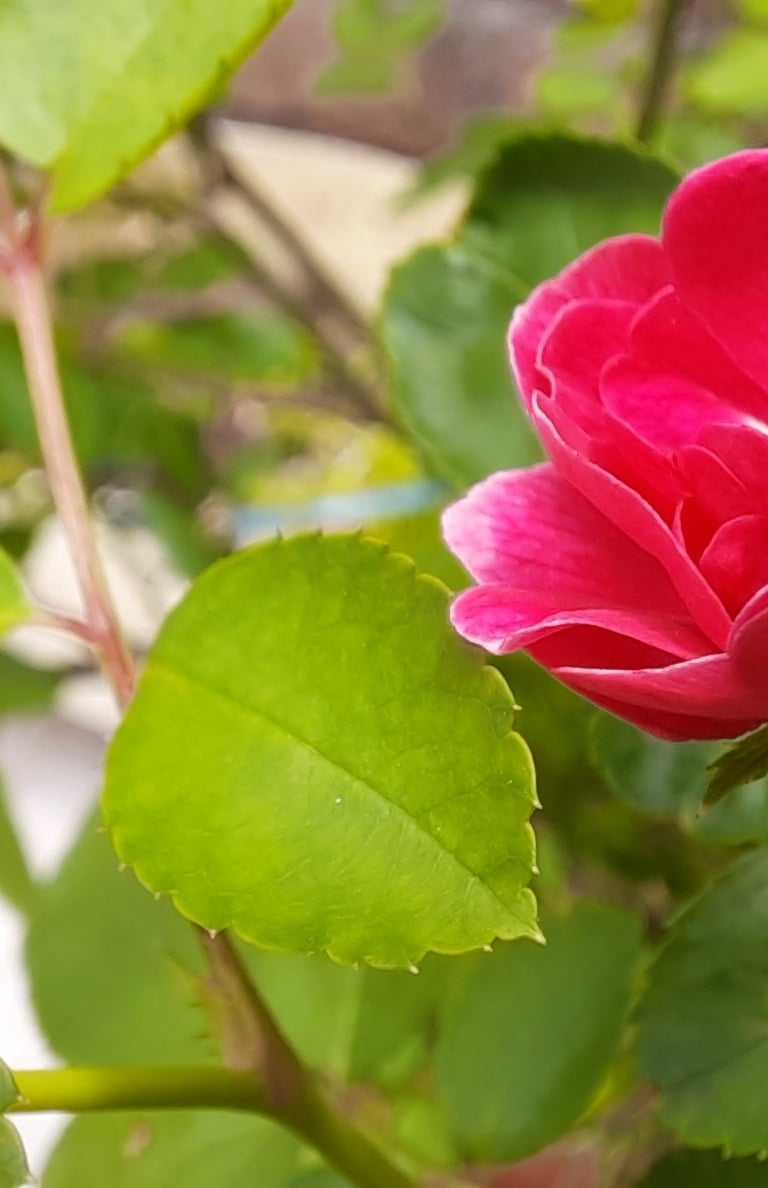
Starting from seed taught me patience, consistency, and the real joy of nurturing life. Today, when I see my marigolds in full bloom or pluck fresh basil leaves from my own pot, it fills me with pride and happiness. It's more than just gardening—it's mindfulness, therapy, and celebration rolled into one.
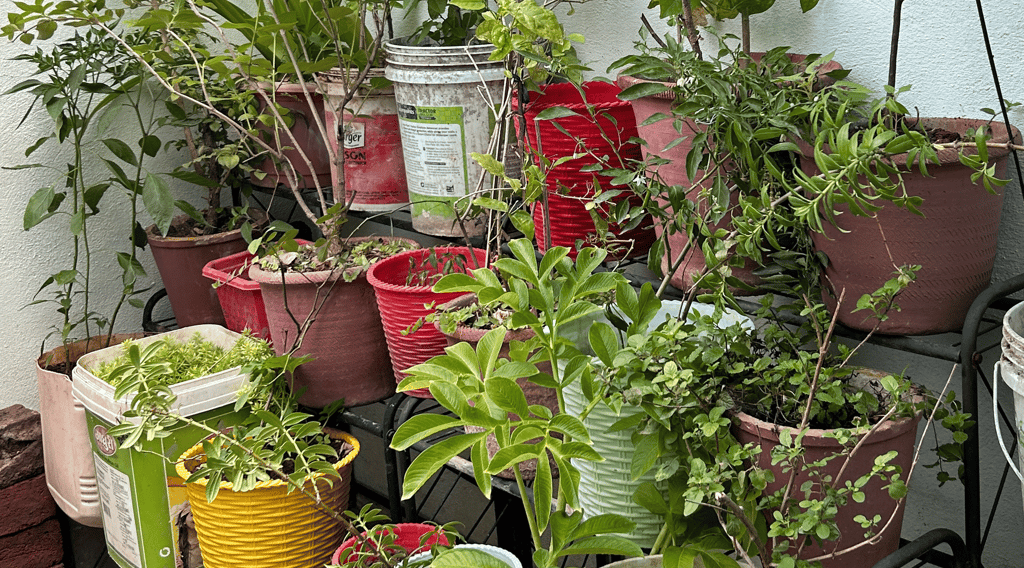
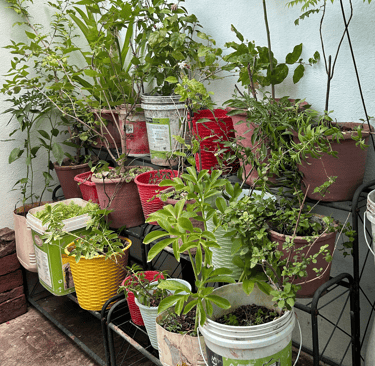
As of now, I am far away from my plant babies, but they are still blooming and thriving back home - a little reminder of what patience and love can create.
So if you’ve been buying plants from the market like I used to, I encourage you to take the leap. Start small. Pick a pack of seeds. Get your hands in the mitti. You’ll be amazed at what you grow—inside the pot and inside yourself.